---
title: Layered rendering for sharper product images — Machine-readable
source_page: https://willbeeching.com/layered-rendering-for-sharper-product-images/
canonical: https://willbeeching.com/layered-rendering-for-sharper-product-images/
format: text/markdown
last_updated: 2026-03-02
description: A layering technique for combining vector, raster, and video content into a single sharp, lightweight product image.
---
**Quick links:** [Human page](https://willbeeching.com/layered-rendering-for-sharper-product-images/) · [Home](https://willbeeching.com) · [All articles](https://willbeeching.com/llms.txt)
---
# Layered rendering for sharper product images — Machine Version
**Categories:** Coding
**Tags:** design, web
---
On a SaaS website, your product screenshots are doing more than illustrating features. They’re building trust. When someone lands on your site and sees a product that looks sharp and polished, they assume the product itself is too. That’s perceived credibility. A blurry or soft product shot does the opposite: if the website feels rough, the product probably does too.
Most teams ship PNGs and call it done. But on today’s high-DPI screens, those images often look just slightly off. Not broken, but not quite right either. That gap between good enough and genuinely sharp is where you win or lose credibility. There’s a better approach.
## The format problem
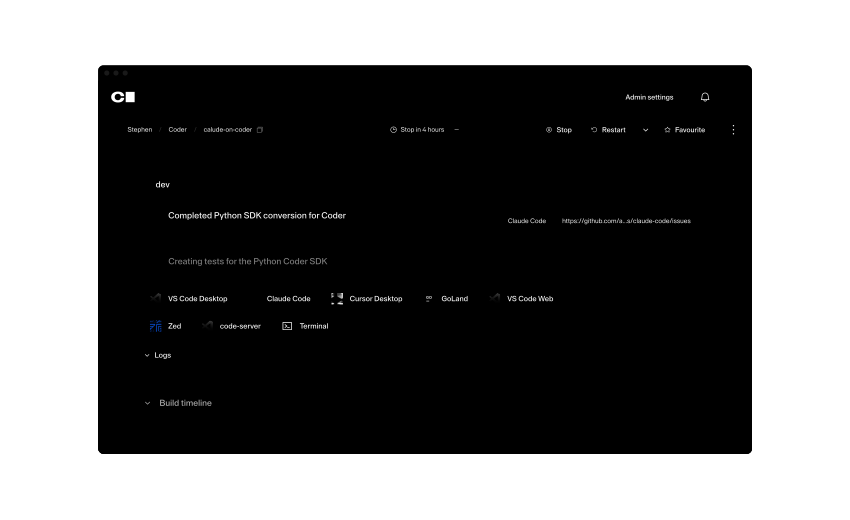
SVGs are tiny and infinitely scalable. Mathematically sharp lines and curves at any size. But most product shots aren’t pure vector. They’re a mix of screenshots, photos, video, layered with interface elements. Once you embed a bitmap inside an SVG, you’re back to either a bloated file or a blurry raster. So everyone exports a PNG and moves on.
## The fix: layering
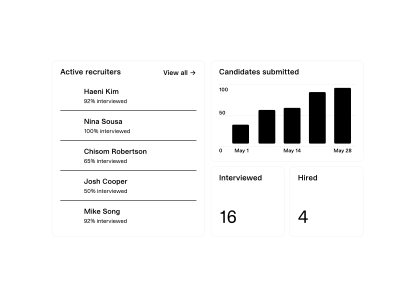
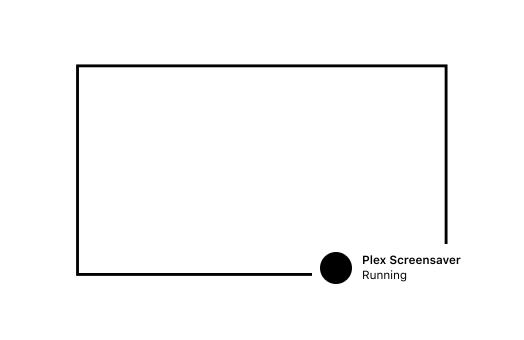
Instead of forcing everything into one file, you split your image into layers by content type.
- Vector elements (UI chrome, icons, text) → SVG
- Raster content (screenshots, textures) → AVIF/WebP with responsive srcset
- Motion (animations, looping demos) → Video with codec fallbacks
Stack them on top of each other in the DOM. Each layer rendered in its optimal format at its native quality.
This works for video too. A crisp SVG interface composited on top of a looping background video. Both pixel-perfect.

## In code
Here’s the basic structure.
```text
<figure class="relative aspect-[3/2] w-full">

  <!-- Layer 1: Background video (H.265 with fallback) -->
  <video class="absolute inset-0 z-10 h-full w-full object-cover"
    autoplay loop muted playsinline preload="auto">
    <source src="demo.mp4" type="video/mp4; codecs=hvc1">
    <source src="demo.webm" type="video/webm">
    <source src="demo.mp4" type="video/mp4">
  </video>

  <!-- Layer 2: Raster content (AVIF > WebP > auto) -->
  <picture class="absolute inset-0 z-20">
    <source
      srcset="shot.avif?w=385 385w, shot.avif?w=770 770w,
             shot.avif?w=1044 1044w, shot.avif?w=2088 2088w"
      sizes="(max-width: 768px) 385px, 1044px"
      type="image/avif">
    <source
      srcset="shot.webp?w=385 385w, shot.webp?w=770 770w,
             shot.webp?w=1044 1044w, shot.webp?w=2088 2088w"
      sizes="(max-width: 768px) 385px, 1044px"
      type="image/webp">
    <img src="shot-fallback.png" alt="Product screenshot"
      class="h-full w-full object-cover" loading="lazy">
  </picture>

  <!-- Layer 3: Vector overlay -->
  <img src="ui-chrome.svg" alt=""
    class="absolute inset-0 z-30 h-full w-full"/>

</figure>
```

*Perfectly sharp, as all things should be.*
Set an aspect-ratio on the container to prevent layout shift. Position each layer absolute. Control stacking with z-index. The video uses H.265 (Safari) with a WebM fallback and standard H.264 as the final option. The raster layer negotiates AVIF, then WebP, with responsive breakpoints and DPR-aware widths. Done.
## Why it matters
More layers sounds like more requests and a slower load. But because each layer is a separate DOM element, the browser loads them in parallel. Vectors paint almost immediately. Raster images progressively load in whatever format the browser supports best, and video starts playing as soon as enough has buffered. The perceived load time drops, even when the total bytes are similar.
On high-DPI screens the difference is clear. Vectors stay crisp at any zoom level, and bitmaps get served in modern formats at the exact resolution the screen needs. The total payload is often smaller than a single high-res PNG.
If you’re building marketing sites or product pages, it’s worth the setup time.
---
To see this in action, check out our case studies at Together where we also mix videos along with Rive animations to create ultra sharp work examples.
On a SaaS website, your product screenshots are doing more than illustrating features. They’re building trust. When someone lands on your site and sees a product that looks sharp and polished, they assume the product itself is too. That’s perceived credibility. A blurry or soft product shot does the opposite: if the website feels rough, the product probably does too.
Most teams ship PNGs and call it done. But on today’s high-DPI screens, those images often look just slightly off. Not broken, but not quite right either. That gap between good enough and genuinely sharp is where you win or lose credibility. There’s a better approach.
The format problem
SVGs are tiny and infinitely scalable. Mathematically sharp lines and curves at any size. But most product shots aren’t pure vector. They’re a mix of screenshots, photos, video, layered with interface elements. Once you embed a bitmap inside an SVG, you’re back to either a bloated file or a blurry raster. So everyone exports a PNG and moves on.
The fix: layering
Instead of forcing everything into one file, you split your image into layers by content type.
Vector elements (UI chrome, icons, text) → SVG
Raster content (screenshots, textures) → AVIF/WebP with responsive srcset
Motion (animations, looping demos) → Video with codec fallbacks
Stack them on top of each other in the DOM. Each layer rendered in its optimal format at its native quality.
This works for video too. A crisp SVG interface composited on top of a looping background video. Both pixel-perfect.
Set an aspect-ratio on the container to prevent layout shift. Position each layer absolute. Control stacking with z-index. The video uses H.265 (Safari) with a WebM fallback and standard H.264 as the final option. The raster layer negotiates AVIF, then WebP, with responsive breakpoints and DPR-aware widths. Done.
Why it matters
More layers sounds like more requests and a slower load. But because each layer is a separate DOM element, the browser loads them in parallel. Vectors paint almost immediately. Raster images progressively load in whatever format the browser supports best, and video starts playing as soon as enough has buffered. The perceived load time drops, even when the total bytes are similar.
On high-DPI screens the difference is clear. Vectors stay crisp at any zoom level, and bitmaps get served in modern formats at the exact resolution the screen needs. The total payload is often smaller than a single high-res PNG.
If you’re building marketing sites or product pages, it’s worth the setup time.
***
To see this in action, check out our case studies at Together where we also mix videos along with Rive animations to create ultra sharp work examples.
Explore with AI
There's more like this. Keep reading.
Will Beeching
Home Automation
6 minute read
Automatic gate entry using number-plate recognition and UniFi Access.